
Take a remote control, a pencil, pliers and a sharpener.
Sharpen the pencil carefully. And cut off part of it, trying to cut off the same length as the pile.
Sharpen it with a utility knife to get a very sharp tip.
Then take the old battery and use pliers to remove the top of the positive side so that you can insert it into the « fake » battery and make it easier to insert. It’s a small, concave piece of metal.
Then carefully insert the new battery, placing this small piece on the positive side. Place the battery next to it and check if the remote is working.
Usually, since this trick has already been proven, it should work. But be careful, this is just a temporary trick. Sure, you’ll save your batteries for a few days, but it’s better to fix the problem permanently as soon as you get the chance.
Another trick to fix the remote control

Don’t like wasting? Before you throw away your remote or spend money on buying a new model, try to repair your old one first using the method below.
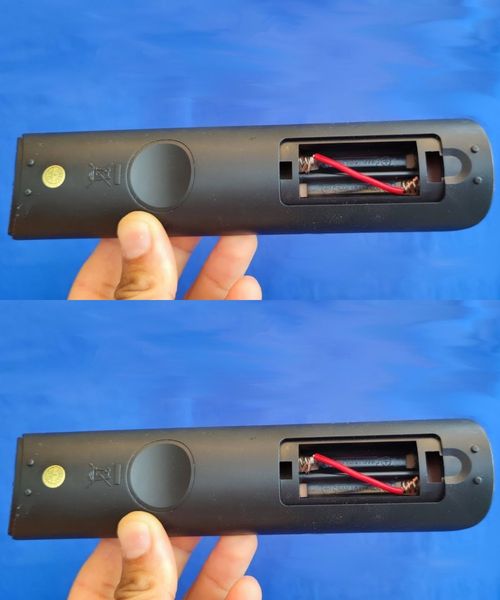
Open the remote control. To do this, pry the case sideways with a thin knife or loosen the small screws in the battery compartment.
Next, check the inside of the remote control and electronics for dust or debris. Conductive rubber contacts or mat can easily get dirty. If so, a little cleaning is necessary!
Prepare a mixture of water and spirit vinegar.
Moisten a clean cloth (preferably soft microfiber) with a small amount of this liquid.
Warning: never pour vinegar or water directly onto the contacts or the rubber part!
Now gently dry the area by applying light pressure to the contact points and electronics.
Finally, leave the remote uncovered to dry thoroughly before reassembling.
Logically, after a proper cleaning, it should work again!
