
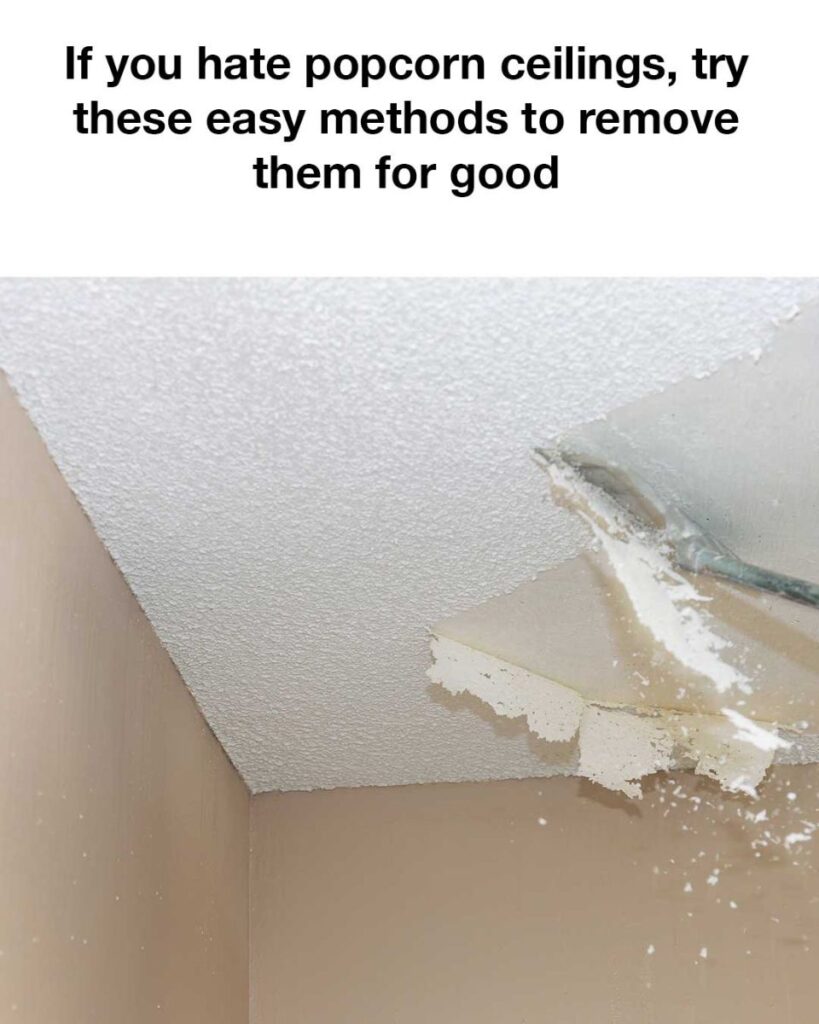
Apply Joint Compound: Using a wide putty knife or trowel, apply a thin layer of joint compound over the popcorn texture. Work in small sections to ensure an even application.
Smooth the Surface: Smooth out the compound with your putty knife, feathering the edges to blend with the existing ceiling.
Let It Dry and Sand Smooth: Allow the joint compound to dry completely. Once dry, use a sanding pole with fine-grit sandpaper to smooth the ceiling.
Prime and Paint: After sanding, prime the ceiling to prepare it for painting, and then apply your chosen paint color.
Final Touches
After you’ve removed or covered your popcorn ceiling, consider adding the following finishing touches to complete your ceiling renovation:
Prime and Paint: If you’ve scraped the ceiling or applied a new layer of drywall, make sure to prime the ceiling to seal the surface before painting.
Choose a paint that complements the rest of your room.
Add Decorative Molding: Crown molding or decorative trim can add a touch of elegance to your newly smoothed ceiling.
Install New Lighting: Now that your ceiling is smooth, consider updating your lighting fixtures to enhance the room’s look.
Removing popcorn ceilings can be a messy and time-consuming task, but the results are well worth the effort. Whether you choose to scrape, cover, or skim coat your ceiling, you’ll enjoy a modern, clean look that can significantly enhance the appearance of your home. By following these methods, you can say goodbye to popcorn ceilings for good and enjoy a fresh new look in your space
