
Steps:
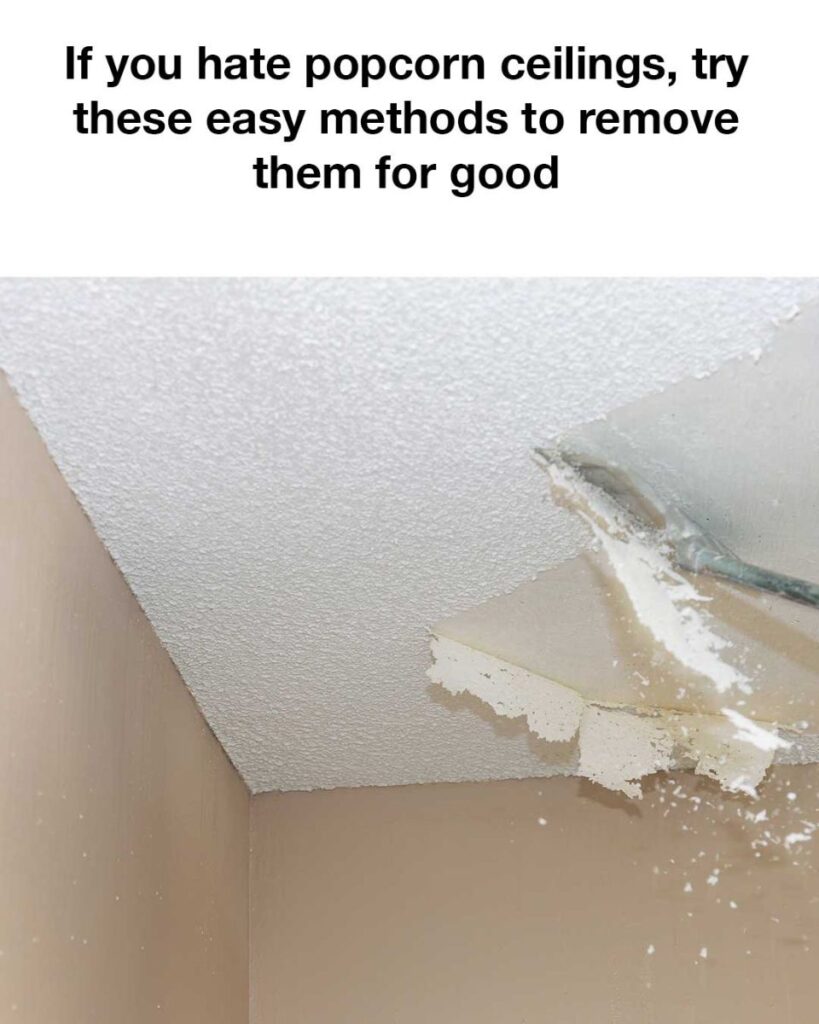
Prepare the Ceiling: Use a putty knife or a popcorn ceiling scraper tool to gently scrape a small section of the ceiling without wetting it.
Scrape Gently: This method requires a bit more elbow grease. Hold the scraper at a slight angle and carefully scrape away the popcorn texture. Try to avoid gouging the ceiling.
Work in Small Sections: Continue working in small sections until the entire ceiling is smooth.
Clean Up Dust: The dry scrape method creates a lot of dust, so it’s important to wear a mask and goggles, and to thoroughly clean the area afterward.
Method 3: Covering with a New Layer
If scraping sounds too daunting or if your ceiling contains asbestos, you might consider covering the popcorn ceiling instead of removing it. This method involves adding a new layer of drywall or ceiling tiles over the existing texture.
Steps:
Measure and Cut Panels: Measure your ceiling and cut drywall panels or ceiling tiles to size.
Attach the Panels: Using drywall screws, attach the panels directly over the popcorn ceiling. Make sure to screw into the ceiling joists to ensure a secure fit.
Tape and Mud the Seams: Use joint tape and compound to cover the seams between the panels. Smooth out the compound with a putty knife and allow it to dry.
Sand and Paint: Once the compound is dry, sand the seams smooth and then prime and paint the new ceiling surface.
Method 4: Skim Coating
Skim coating is another option if you want a smooth ceiling without removing the popcorn texture. This involves applying a thin layer of joint compound over the entire ceiling.
Steps:
see next Page
